How to apply and remove Z Wrap adhesive tattoo bandage
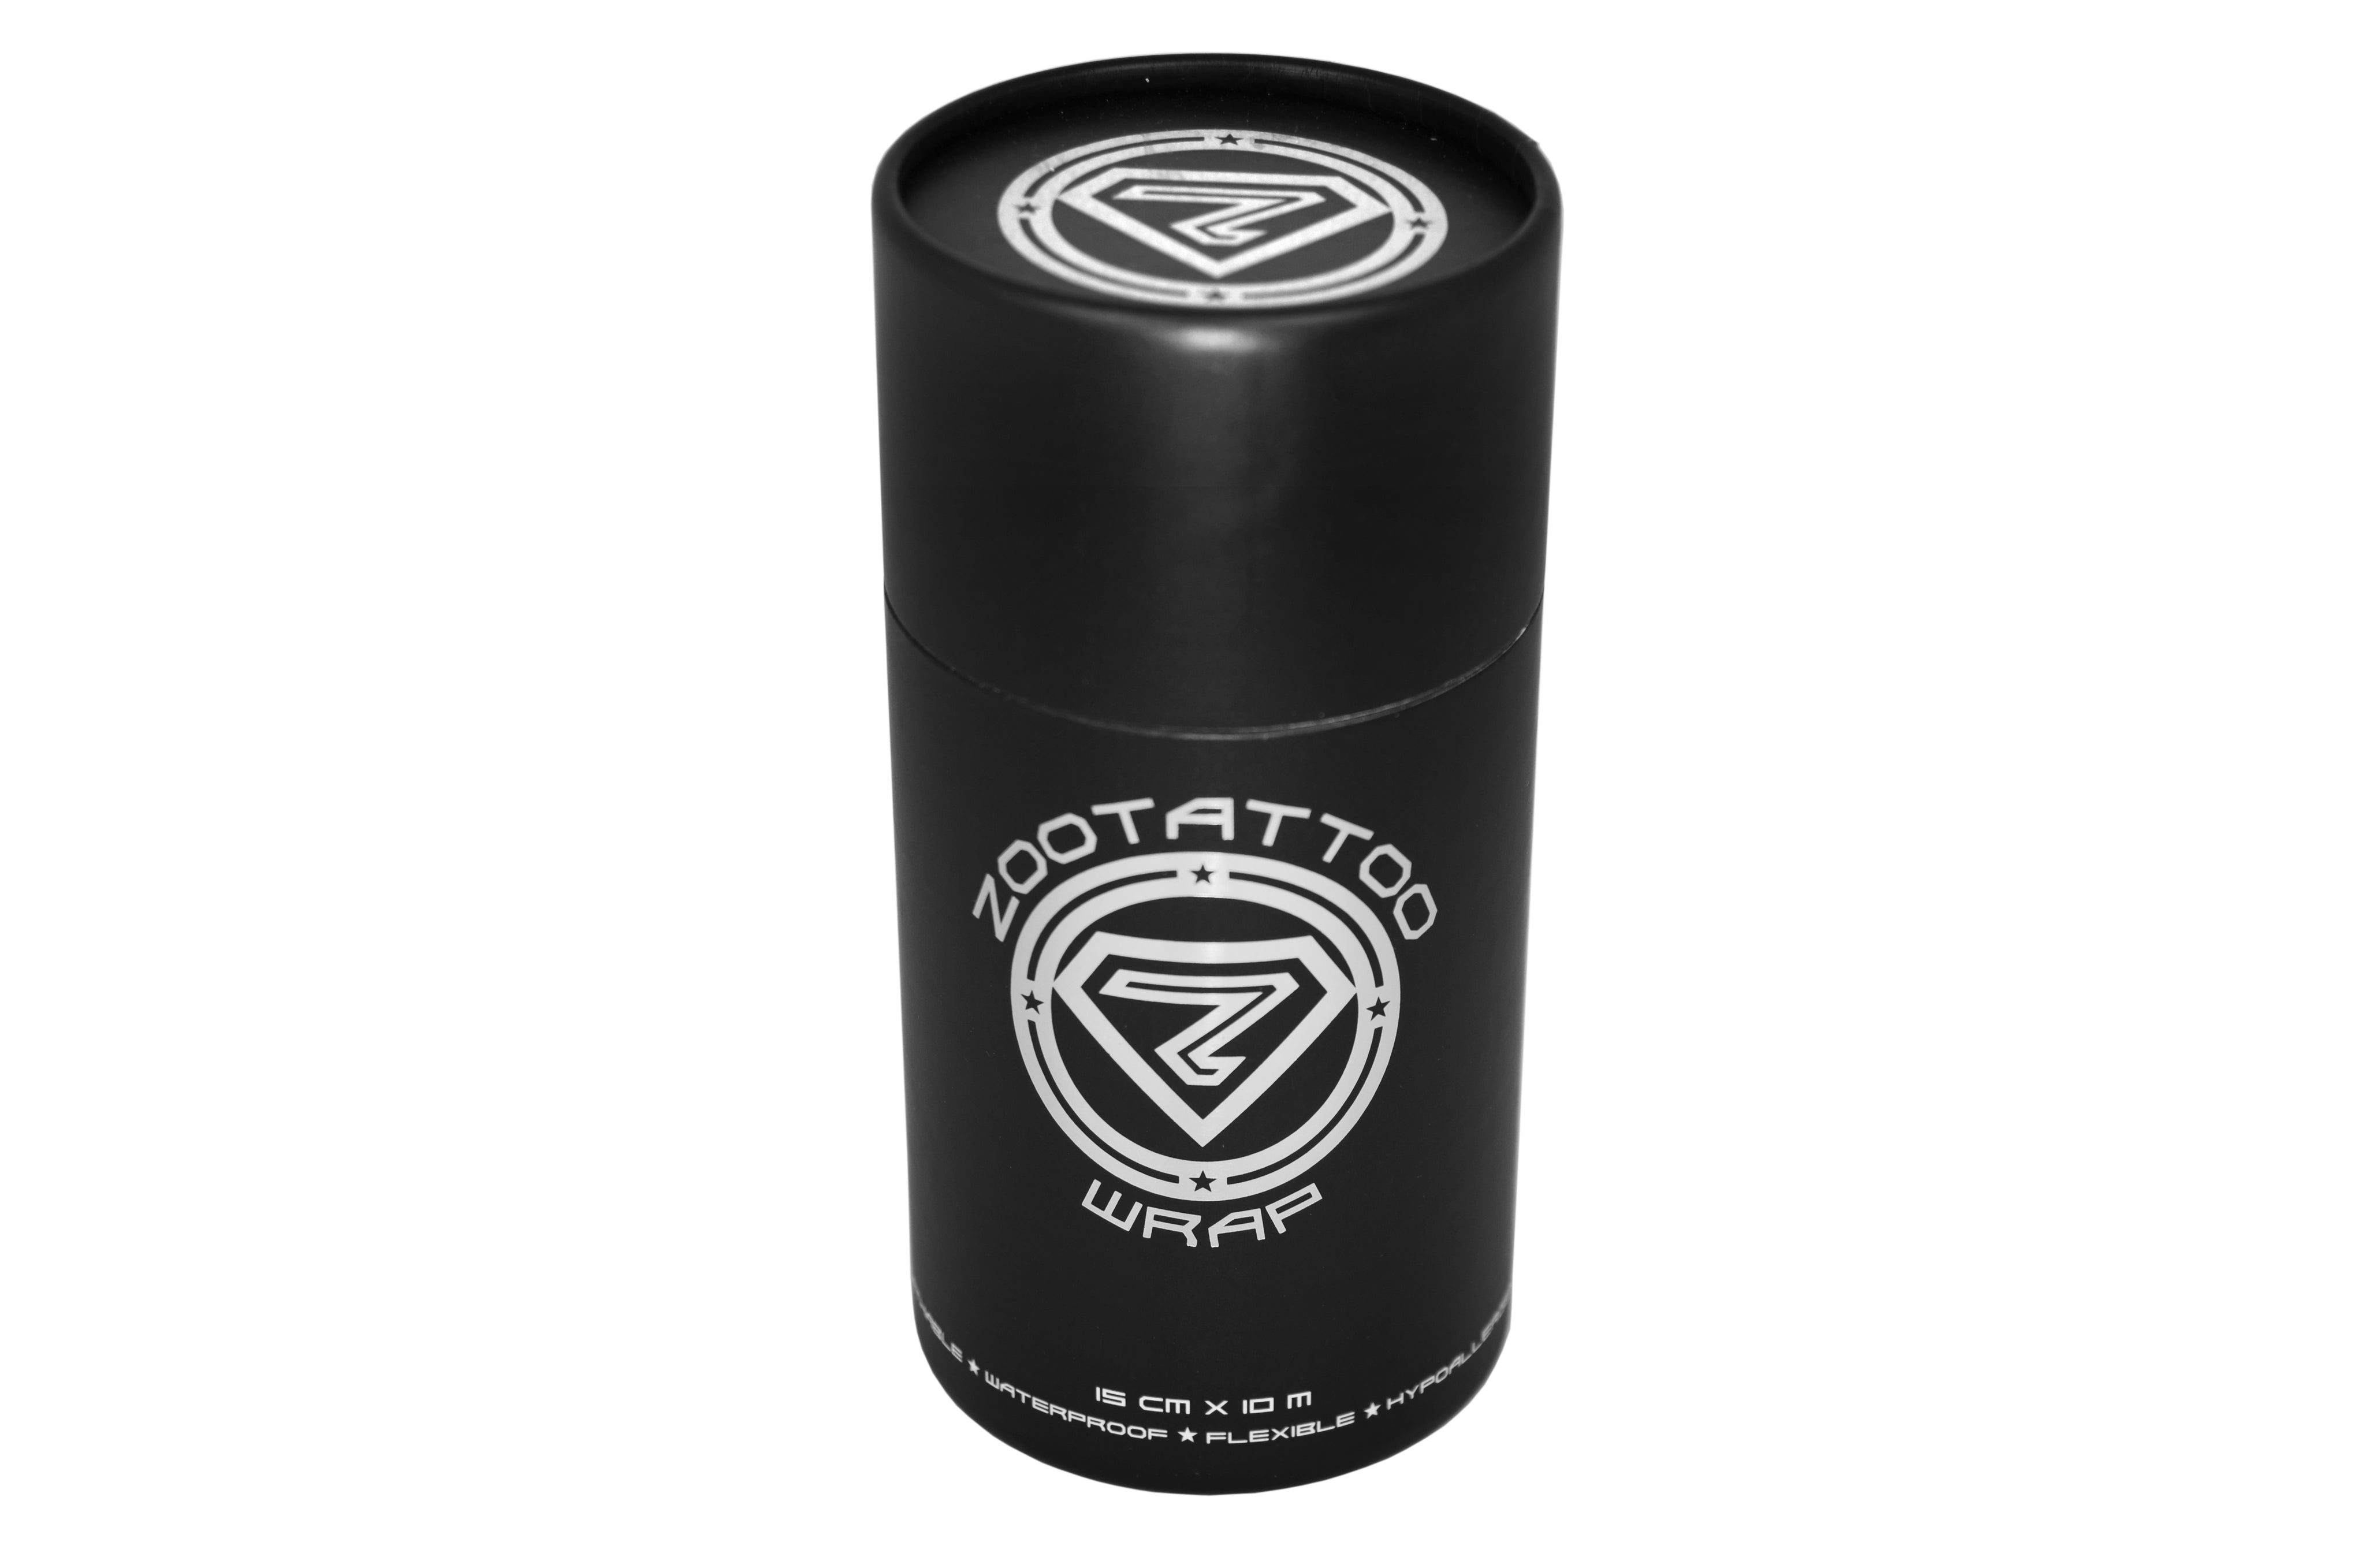
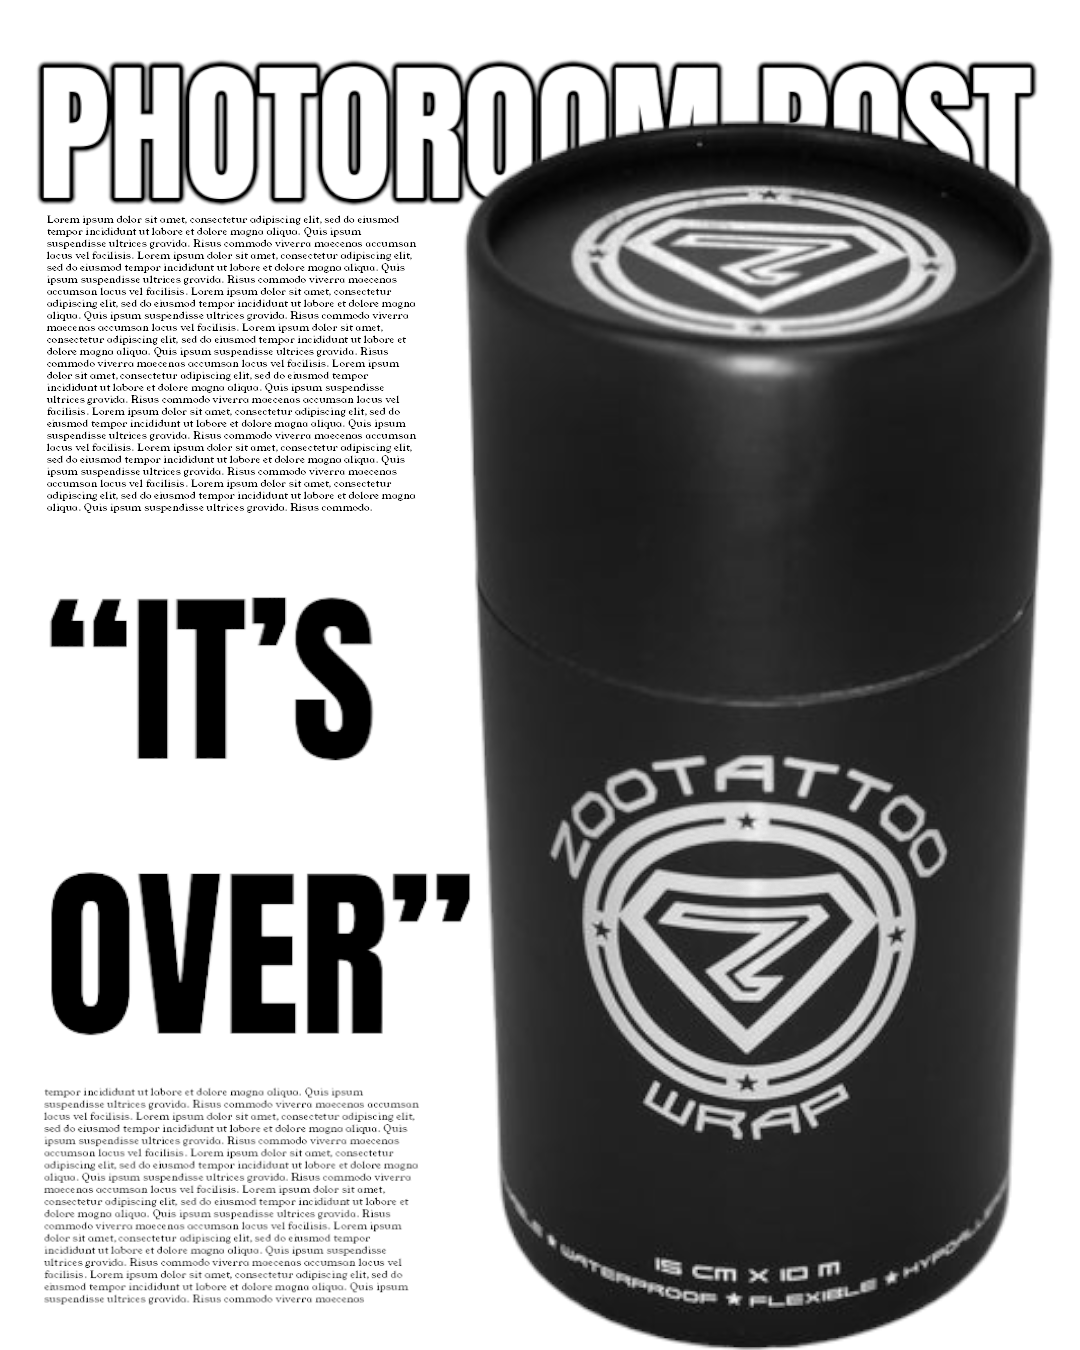
Applying ZOOTATTOO® WRAP is relatively simple once you have familiarised yourself with the instructions below. On difficult to reach and larger coverage areas you will likely need someone to help you apply and remove each application as required. Whilst this may seem cumbersome, it really isn't difficult and the end result will definitely be worth the effort!
How to apply Z WRAP
Let the tattoo bleed first for at least ten minutes then thoroughly clean it with Z WASH or a quality natural soap to ensure the tattoo is clean.
Step 1.
If required, cut the film to size so that the coverage is 3-5 cm larger than your tattoo around the perimeter. If applying tattoo aftercare before Z WRAP, do not apply on the non-tattooed skin around the edges of the tattoo as this will be the skin that the film adheres to so it should be kept free from oily substances.
The protective bandage film has three layers:
1. protective paper underside layer
2. protective plastic topside layer
3. bandage film middle layer
Step 2.
First, remove the protective paper underside layer at the perforation and apply this side to the tattoo with your skin or limb in a neutral position ensuring full coverage. Apply gentle pressure to ensure adhesion and try to caress out any air pockets working from the middle outwards.
Step 3.
Next, remove the protective plastic topside layer at the perforation. Depending on fluid build-up, leave on for 8 – 24 hours then remove and gently wash the tattoo and reapply a second application. Leave the second application on for 4 – 7 days. It is normal for blood and fluids to collect under the bandage. These fluids help to keep the tattoo hydrated and aid the healing process.
Tip 1: With a pair of scissors, round cut the corners slightly to help prevent corners from lifting once applied.
Tip 2: When covering a larger tattoo such as a full back piece, you will likely need to overlap multiple sheets of film to obtain full coverage. To do this you apply the first sheet to one corner of the tattoo, then adhere the edge of the second joining sheet to the first, and so on. When joining sheets, it's best to allow 2-3 cm overlap to ensure each sheet adheres well to the joining sheet.
Tip 3. Don't panic! As the film is transparent, you will see that the tattoo will look like a mash of body fluids and ink blended together. This will in no way affect the outcome once you remove the film. So don't panic, it will look amazing at the end of the process!
How to remove Z WRAP:
Step 1.
Thoroughly wash the the wrapped tattoo and surrounding skin using Z WASH premium tattoo cleanser so that the area is clean prior to removal. This will also help to loosen the bandage film dressing and remove residual adhesive.
Step 2.
Gently peel the film back over itself avoiding pulling directly upwards. If Z WRAP is hard to peel from the skin, allow sufficient warm water to run over the bandage film for a few minutes to loosen the adhesion, and then as you peel the bandage back, allow the water to run under the bandage simultaneously.
Tip 1. Removal is best done while bathing to allow sufficient time for the adhesive to loosen from the warm soapy water.
Use only as directed and do not apply to infected skin. Do not use if you have allergies to adhesives. For further information or assistance, contact us via our contact page.

This article was brought to you by ZOOTATTOO® The world's premium vegan aftercare balms, creams, adhesive wraps, and cleansers. We only use high quality exotic Australian Organic Hemp Oil and complimentary botanical ingredients for when you're healing tattoos, scalp micro-pigmentation and laser treated skin.You won't look back!
FREE SHIPPING on orders over $100AUD to USA, Australia, Canada, New Zealand, UK, Belgium, Germany, France, Ireland, Switzerland and Netherlands ORDER HERE
** Not redeemable with other promotional discounts.
0 comments
